
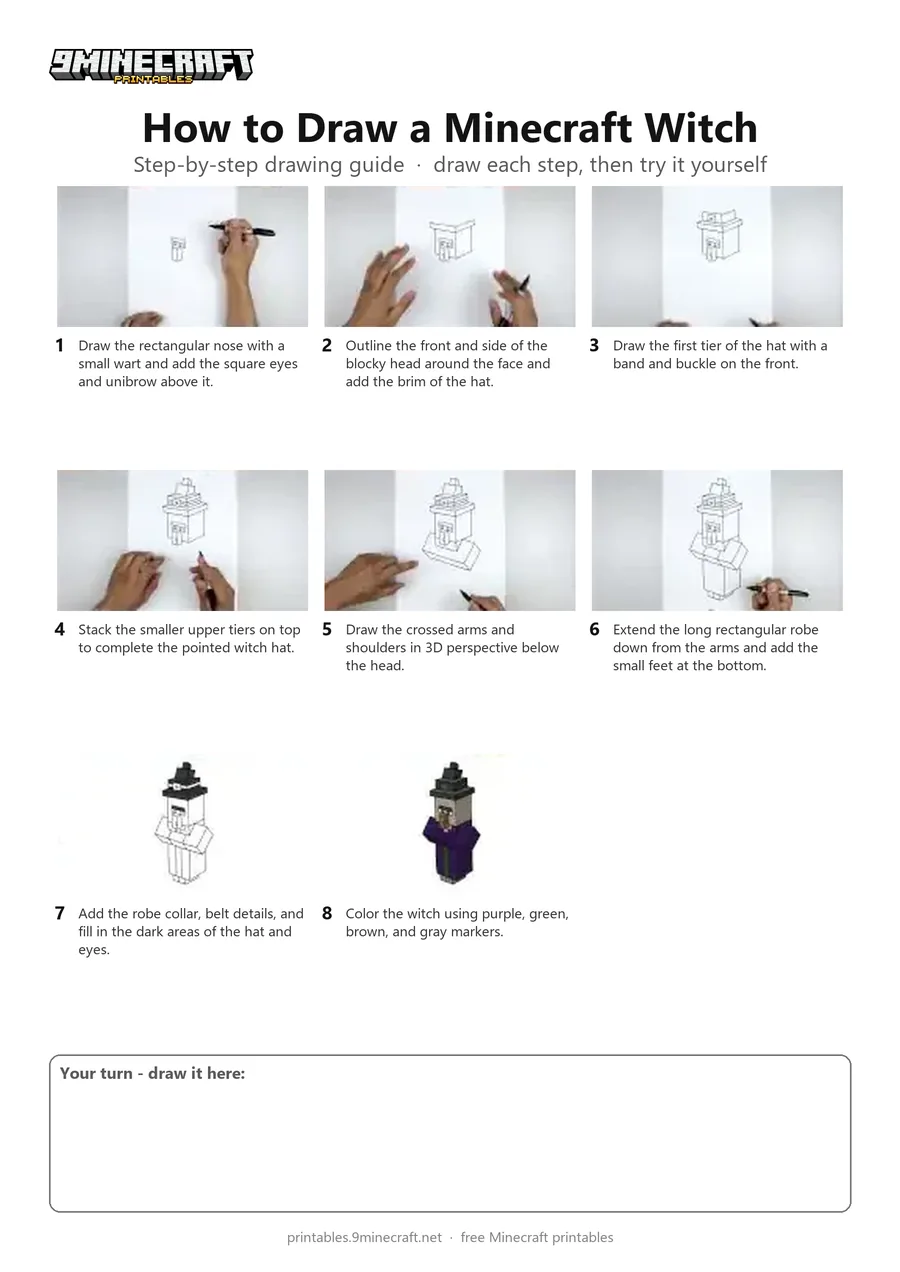
Learn how to draw a 3D blocky Minecraft Witch complete with her tall pointed hat and crossed arms. The tutorial starts from the nose and face, builds up the layered hat, and finishes with the robe and feet. Free printable PDF for A4 and US Letter paper.
Print at 100% scale (“Actual size”). Plain printer paper works fine; crayons, colored pencils or markers all work.
 Draw the rectangular nose with a small wart and add the square eyes and unibrow above it.
 Outline the front and side of the blocky head around the face and add the brim of the hat.
 Draw the first tier of the hat with a band and buckle on the front.
 Stack the smaller upper tiers on top to complete the pointed witch hat.
 Draw the crossed arms and shoulders in 3D perspective below the head.
 Extend the long rectangular robe down from the arms and add the small feet at the bottom.
 Add the robe collar, belt details, and fill in the dark areas of the hat and eyes.
 Color the witch using purple, green, brown, and gray markers.
You need: paper, black marker, colored markers.
Video by Cartooning Club How to Draw on YouTube.
 More How to Draw
 PDFHow to Draw a 3D Minecraft CreeperDetailed · Ages 7-9
 PDFHow to Draw Minecraft an Enderman (Design 3)Detailed · Ages 7-9
 PDFHow to Draw the Minecraft LogoDetailed · Ages 7-9
 PDFHow to Draw Minecraft a 3D Floating CreeperDetailed · Ages 10+
 PDFHow to Draw a 3D Minecraft ZombieDetailed · Ages 10+
 PDFHow to Draw a Minecraft AxolotlPixel style · Ages 7-9
 PDFHow to Draw a Minecraft Bee (Design 3)Pixel style · Ages 7-9
 PDFHow to Draw a Blastling from Minecraft DungeonsCartoon · Ages 7-9
 PDFHow to Draw a Minecraft Chest Folding SurpriseCartoon · Ages 7-9
 PDFHow to Draw Minecraft Chibi DanTDMCute / chibi · Ages 7-9
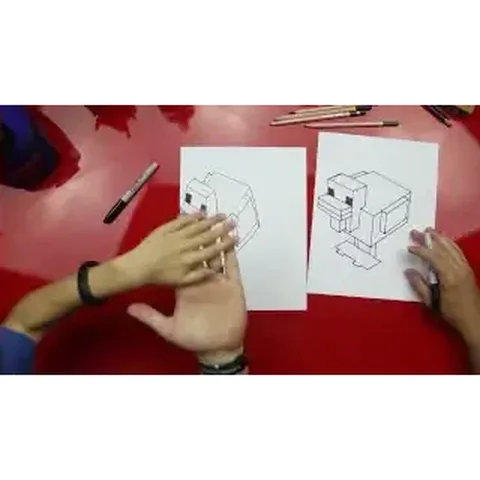 PDFHow to Draw a Minecraft ChickenPixel style · Ages 7-9
 PDFHow to Draw Minecraft a Chicken JockeyCartoon · Ages 7-9