
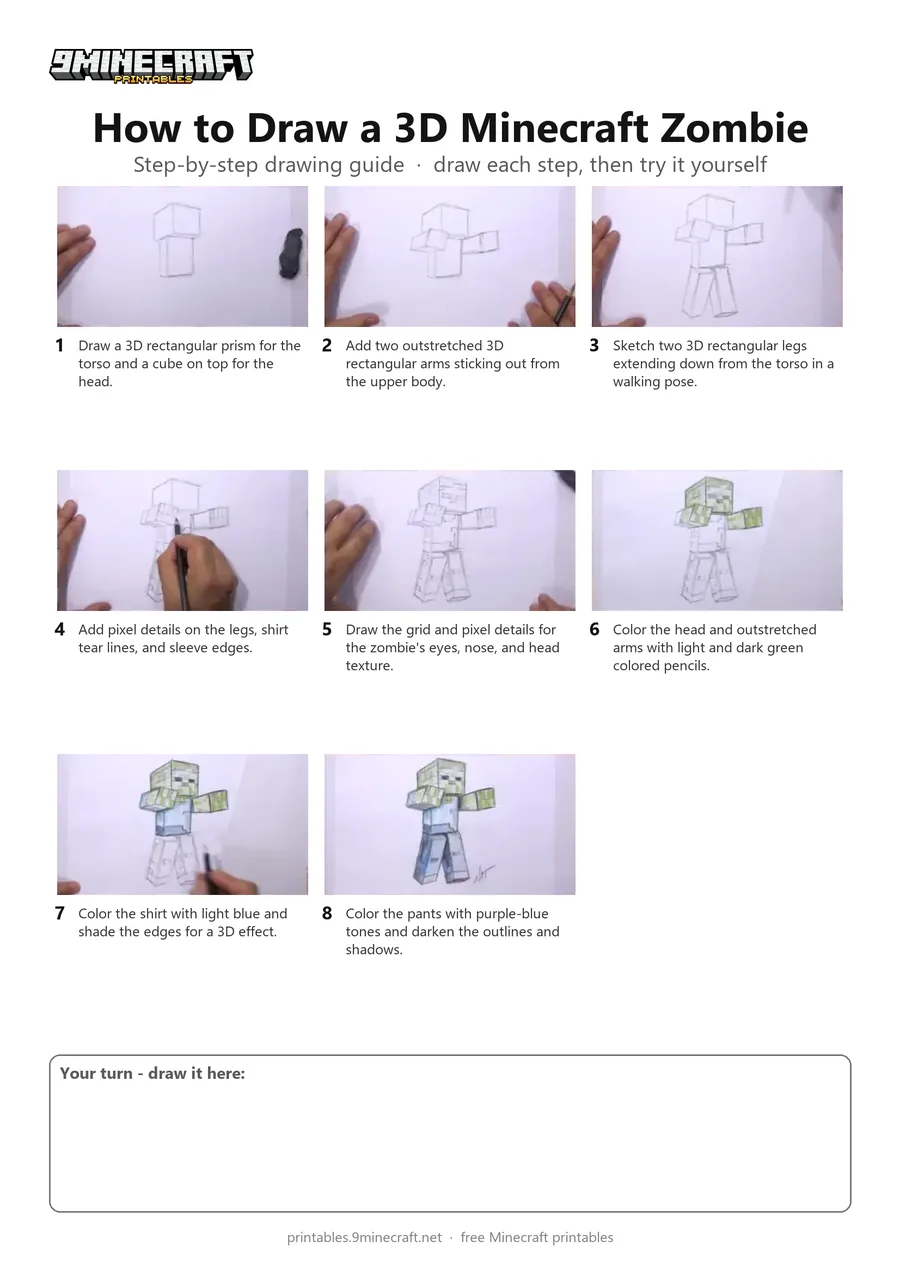
Learn how to draw a 3D blocky Minecraft Zombie with outstretched arms and realistic shading. This tutorial starts with a 3D geometric pencil sketch and finishes with colored pencil pixel details and shading. Free printable PDF for A4 and US Letter paper.
Print at 100% scale (“Actual size”). Plain printer paper works fine; crayons, colored pencils or markers all work.
 Draw a 3D rectangular prism for the torso and a cube on top for the head.
 Add two outstretched 3D rectangular arms sticking out from the upper body.
 Sketch two 3D rectangular legs extending down from the torso in a walking pose.
 Add pixel details on the legs, shirt tear lines, and sleeve edges.
 Draw the grid and pixel details for the zombie's eyes, nose, and head texture.
 Color the head and outstretched arms with light and dark green colored pencils.
 Color the shirt with light blue and shade the edges for a 3D effect.
 Color the pants with purple-blue tones and darken the outlines and shadows.
You need: pencil, eraser, colored pencils.
Video by How to Draw and Paint on YouTube.
 More How to Draw
 PDFHow to Draw Minecraft a 3D Floating CreeperDetailed · Ages 10+
 PDFHow to Draw a Minecraft WolfDetailed · Ages 10+
 PDFHow to Draw 3D Alex from MinecraftDetailed · Ages 10+
 PDFHow to Draw a Minecraft Chest Folding SurpriseCartoon · Ages 7-9
 PDFHow to Draw Minecraft an Ender DragonDetailed · Ages 10+
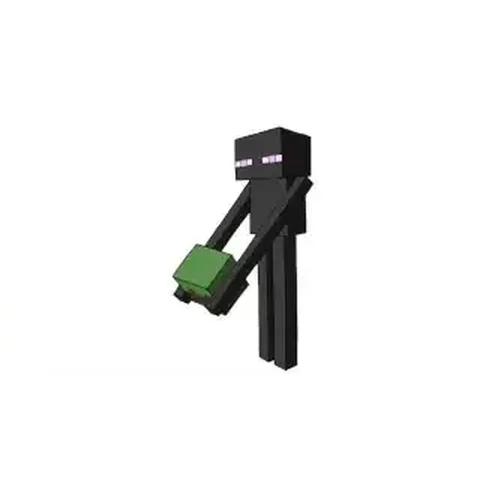 PDFHow to Draw Minecraft an Enderman (Design 3)Detailed · Ages 7-9
 PDFHow to Draw Minecraft the Ender DragonDetailed · Ages 10+
 PDFHow to Draw a Minecraft Zombie (Design 3)Pixel style · Ages 7-9
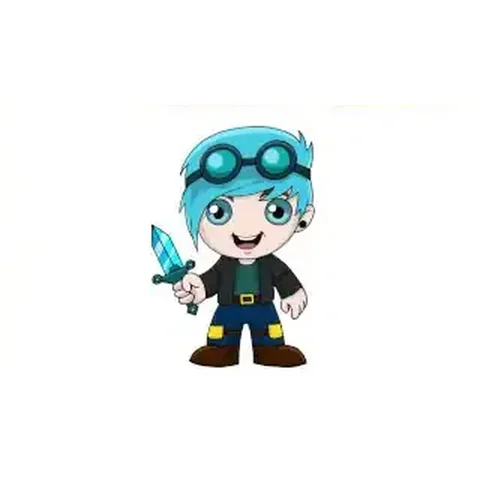 PDFHow to Draw Minecraft Chibi DanTDMCute / chibi · Ages 7-9
 PDFHow to Draw Minecraft a Chicken JockeyCartoon · Ages 7-9
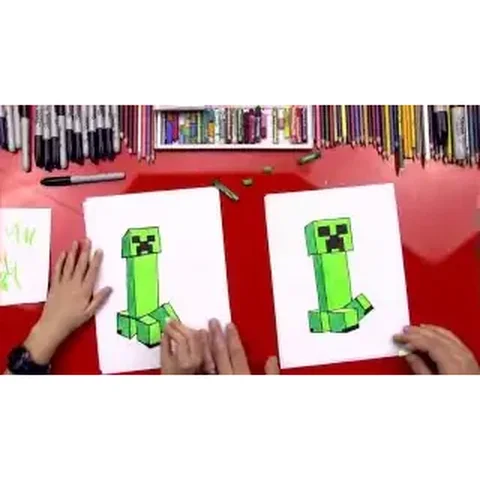 PDFHow to Draw a Minecraft CreeperCartoon · Ages 7-9
 PDFHow to Draw a Cute Minecraft ZombieCute / chibi · Ages 7-9