
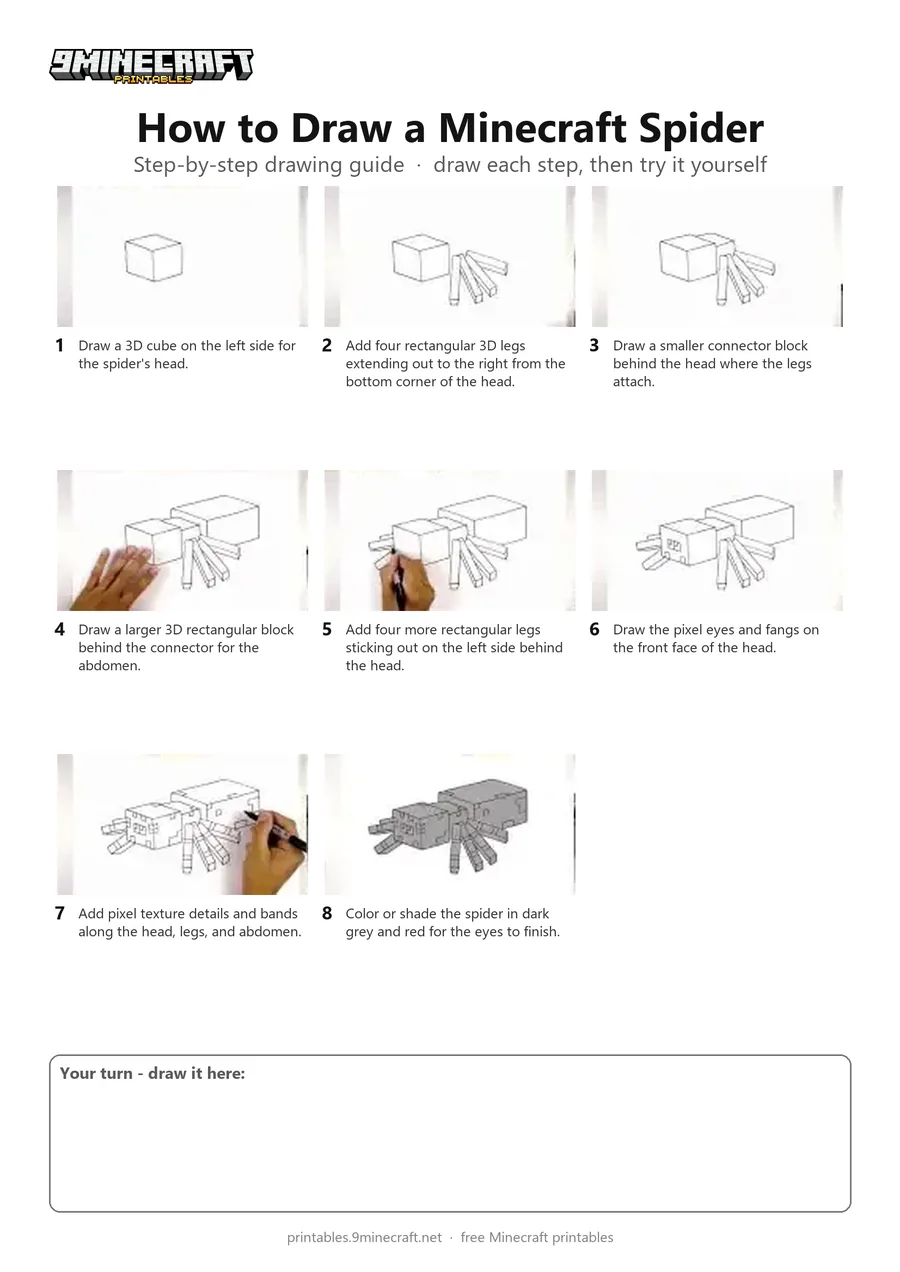
This tutorial shows how to draw a 3D blocky Minecraft spider step by step using a black marker. You will construct the cube-shaped head, eight rectangular legs, abdomen, and pixel texture details. Free printable PDF for A4 and US Letter paper.
Print at 100% scale (“Actual size”). Plain printer paper works fine; crayons, colored pencils or markers all work.
 Draw a 3D cube on the left side for the spider's head.
 Add four rectangular 3D legs extending out to the right from the bottom corner of the head.
 Draw a smaller connector block behind the head where the legs attach.
 Draw a larger 3D rectangular block behind the connector for the abdomen.
 Add four more rectangular legs sticking out on the left side behind the head.
 Draw the pixel eyes and fangs on the front face of the head.
 Add pixel texture details and bands along the head, legs, and abdomen.
 Color or shade the spider in dark grey and red for the eyes to finish.
You need: paper, black marker.
Video by Cartooning Club How to Draw on YouTube.
 More How to Draw
 PDFHow to Draw a Minecraft SpiderPixel style · Ages 7-9
 PDFHow to Draw a Minecraft AxolotlPixel style · Ages 7-9
 PDFHow to Draw a Minecraft Frog Eating a Magma CubePixel style · Ages 7-9
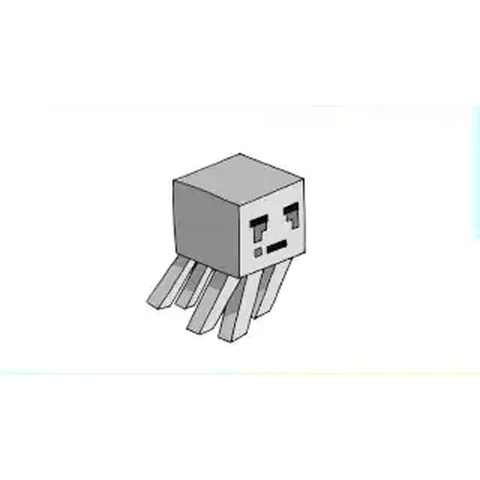 PDFHow to Draw a Minecraft Ghast (Design 2)Pixel style · Ages 7-9
 PDFHow to Draw Herobrine from Minecraft (Design 2)Pixel style · Ages 7-9
 PDFHow to Draw Minecraft an Iron Golem (Design 2)Pixel style · Ages 7-9
 PDFHow to Draw a Minecraft OcelotPixel style · Ages 7-9
 PDFHow to Draw a Minecraft Panda Eating CakePixel style · Ages 7-9
 PDFHow to Draw a Minecraft ParrotPixel style · Ages 7-9
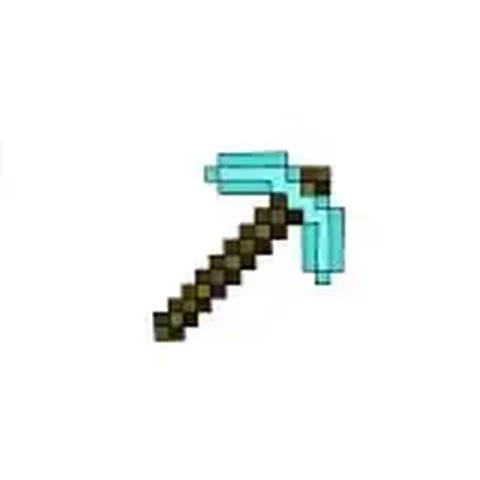 PDFHow to Draw a Minecraft PickaxePixel style · Ages 7-9
 PDFHow to Draw a Pig from MinecraftPixel style · Ages 7-9
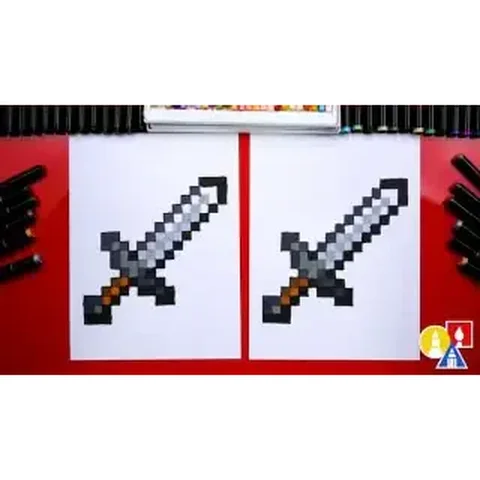 PDFHow to Draw a Minecraft SwordPixel style · Ages 7-9