

Learn how to draw a blocky Minecraft Iron Golem covered in climbing vines using simple straight lines and rectangles. This step-by-step guide starts with the nose and eyes, builds out the heavy geometric body, and finishes with vine details and gray shading. Free printable PDF for A4 and US Letter paper.
Print at 100% scale (“Actual size”). Plain printer paper works fine; crayons, colored pencils or markers all work.
 Draw a vertical rectangle in the center of the page for the Iron Golem's long nose.
 Add a horizontal bar across the top of the nose and divide it to create the brow and two square eyes.
 Draw small corner squares inside the eyes for pupils and fill the surrounding eye spaces in black.
 Outline the tall rectangular head around the face and add a horizontal line across the forehead.
 Draw a wide rectangular chest below the head and a narrower waist block underneath it.
 Add two vertical rectangles extending down from the waist for the blocky legs, including horizontal lines at the bottoms for feet.
 Draw two long rectangular arms hanging down on both sides of the torso.
 Add small square vine patches on the chest, legs, and shoulders.
 Connect the patches with jagged diagonal lines to create climbing vines across the body and legs.
 Color the Iron Golem in shades of gray with dark red eyes and green vines.
You need: paper, black marker, colored markers.
Video by Cartooning Club How to Draw on YouTube.
 More How to Draw
 PDFHow to Draw a Minecraft AxolotlPixel style · Ages 7-9
 PDFHow to Draw a Minecraft Frog Eating a Magma CubePixel style · Ages 7-9
 PDFHow to Draw a Minecraft Ghast (Design 2)Pixel style · Ages 7-9
 PDFHow to Draw Herobrine from Minecraft (Design 2)Pixel style · Ages 7-9
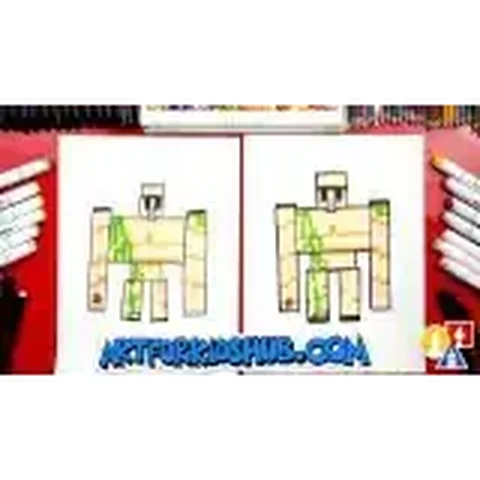 PDFHow to Draw Minecraft an Iron GolemPixel style · Ages 7-9
 PDFHow to Draw a Minecraft OcelotPixel style · Ages 7-9
 PDFHow to Draw a Minecraft Panda Eating CakePixel style · Ages 7-9
 PDFHow to Draw a Minecraft ParrotPixel style · Ages 7-9
 PDFHow to Draw a Minecraft PickaxePixel style · Ages 7-9
 PDFHow to Draw a Pig from MinecraftPixel style · Ages 7-9
 PDFHow to Draw a Minecraft SpiderPixel style · Ages 7-9
 PDFHow to Draw a Minecraft Spider (Design 2)Pixel style · Ages 7-9