
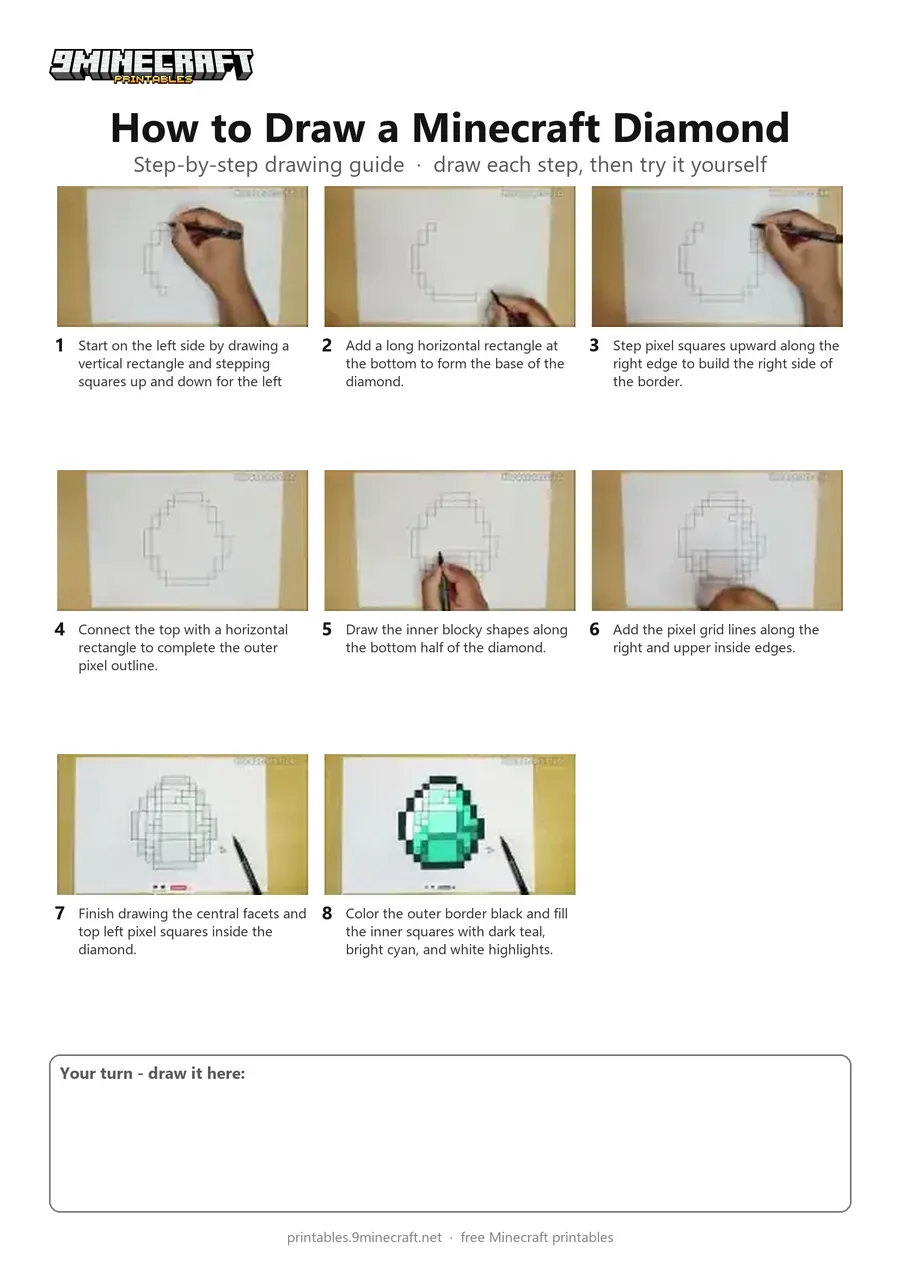
Learn how to draw a classic pixelated Minecraft diamond step by step on blank paper. Build the outer pixel border first, divide the inside into grid squares, and color them in shades of teal, cyan, and black. Free printable PDF for A4 and US Letter paper.
Print at 100% scale (“Actual size”). Plain printer paper works fine; crayons, colored pencils or markers all work.
 Start on the left side by drawing a vertical rectangle and stepping squares up and down for the left border.
 Add a long horizontal rectangle at the bottom to form the base of the diamond.
 Step pixel squares upward along the right edge to build the right side of the border.
 Connect the top with a horizontal rectangle to complete the outer pixel outline.
 Draw the inner blocky shapes along the bottom half of the diamond.
 Add the pixel grid lines along the right and upper inside edges.
 Finish drawing the central facets and top left pixel squares inside the diamond.
 Color the outer border black and fill the inner squares with dark teal, bright cyan, and white highlights.
You need: paper, black pen, markers.
Video by HAROON ART CLUB on YouTube.
 More How to Draw
 PDFHow to Draw a Minecraft Diamond (Design 3)Pixel style · Ages 7-9
 PDFHow to Draw a Minecraft AxolotlPixel style · Ages 7-9
 PDFHow to Draw a Minecraft Bee (Design 3)Pixel style · Ages 7-9
 PDFHow to Draw a Minecraft ChickenPixel style · Ages 7-9
 PDFHow to Draw Minecraft Diamond Armor StevePixel style · Ages 7-9
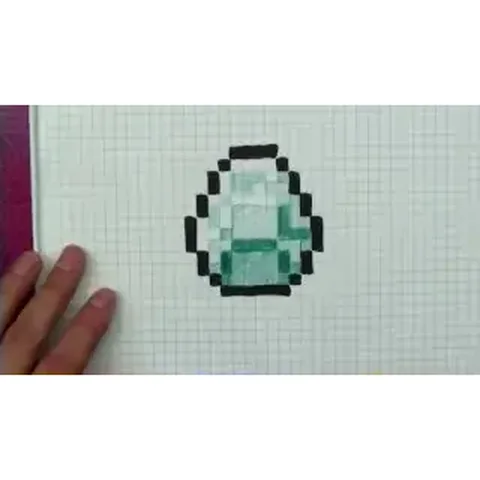 PDFHow to Draw a Minecraft DiamondPixel style · Ages 7-9
 PDFHow to Draw a Minecraft Diamond Sword (Design 4)Pixel style · Ages 7-9
 PDFHow to Draw a Minecraft Diamond Sword (Design 5)Pixel style · Ages 7-9
 PDFHow to Draw a Minecraft Frog Eating a Magma CubePixel style · Ages 7-9
 PDFHow to Draw a Minecraft Ghast (Design 2)Pixel style · Ages 7-9
 PDFHow to Draw Herobrine from Minecraft (Design 2)Pixel style · Ages 7-9
 PDFHow to Draw Minecraft an Iron Golem (Design 2)Pixel style · Ages 7-9