
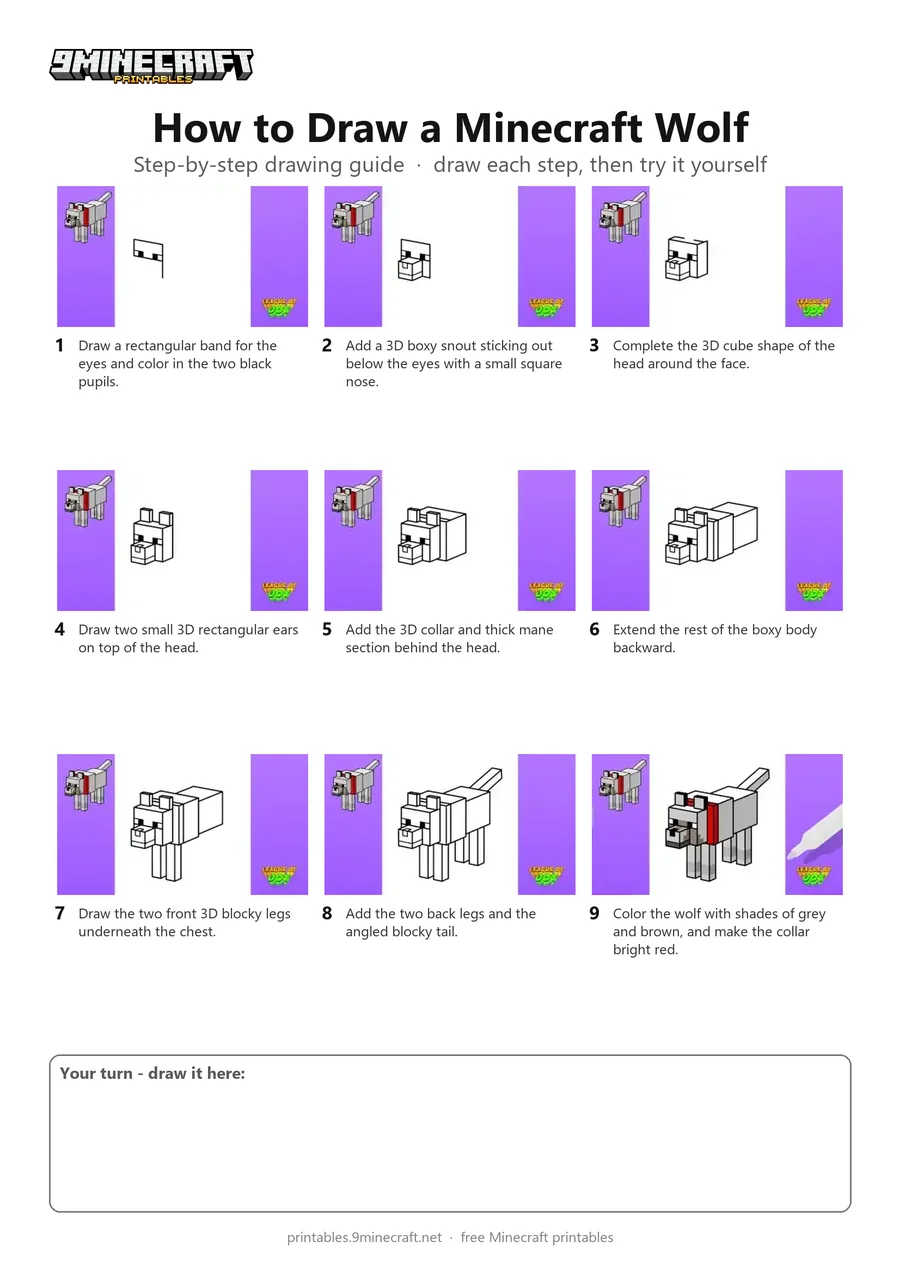
Learn how to draw a 3D blocky Minecraft wolf with a red collar step by step. The tutorial builds the character using simple geometric boxes from the snout to the tail before coloring it in. Free printable PDF for A4 and US Letter paper.
Print at 100% scale (“Actual size”). Plain printer paper works fine; crayons, colored pencils or markers all work.
 Draw a rectangular band for the eyes and color in the two black pupils.
 Add a 3D boxy snout sticking out below the eyes with a small square nose.
 Complete the 3D cube shape of the head around the face.
 Draw two small 3D rectangular ears on top of the head.
 Add the 3D collar and thick mane section behind the head.
 Extend the rest of the boxy body backward.
 Draw the two front 3D blocky legs underneath the chest.
 Add the two back legs and the angled blocky tail.
 Color the wolf with shades of grey and brown, and make the collar bright red.
You need: pen, markers.
Video by League of Joy - How to Draw on YouTube.
 More How to Draw
 PDFHow to Draw a Minecraft Wolf Step by StepPixel style · Ages 7-9
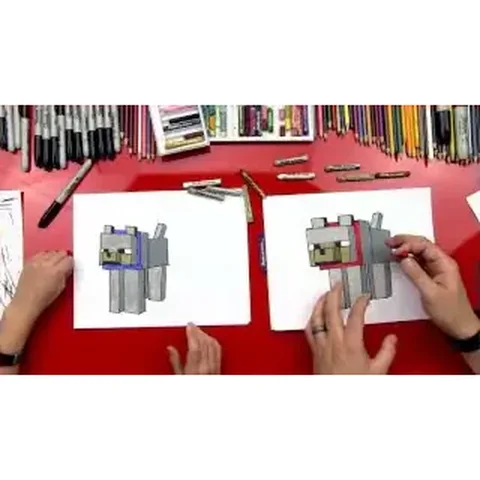 PDFHow to Draw a Minecraft Wolf (Dog)Pixel style · Ages 7-9
 PDFHow to Draw a Minecraft Wolf (Design 2)Pixel style · Ages 7-9
 PDFHow to Draw Alex from Minecraft (Design 6)Pixel style · Ages 7-9
 PDFHow to Draw a Minecraft AxolotlPixel style · Ages 7-9
 PDFHow to Draw a Minecraft Bee (Design 3)Pixel style · Ages 7-9
 PDFHow to Draw a Minecraft ChickenPixel style · Ages 7-9
 PDFHow to Draw Dennis the Wolf from A Minecraft MovieCartoon · Ages 7-9
 PDFHow to Draw Minecraft Diamond Armor StevePixel style · Ages 7-9
 PDFHow to Draw a Minecraft Diamond (Design 2)Pixel style · Ages 7-9
 PDFHow to Draw a Minecraft Diamond (Design 3)Pixel style · Ages 7-9
 PDFHow to Draw a Minecraft Diamond Pickaxe (Design 2)Pixel style · Ages 7-9