

Learn how to draw a cute sitting Minecraft wolf with its signature blocky body and red collar. This step-by-step guide uses simple 3D cube shapes and pixel details that are easy to follow with a marker. Free printable PDF for A4 and US Letter paper.
Print at 100% scale (“Actual size”). Plain printer paper works fine; crayons, colored pencils or markers all work.
 Draw the front square of the head and add a 3D rectangular snout at the bottom.
 Add the pixel nose, mouth, and eyes on the face, then draw the side of the head.
 Draw two blocky 3D ears on top of the head.
 Add the 3D collar and upper torso behind the head.
 Draw the angled lower body extending back and add the blocky tail.
 Draw the two front legs extending straight down from the chest.
 Add the two sitting back legs tucked next to the front legs.
 Add the final pixel grid lines on the face and color the wolf grey, tan, and red.
You need: marker, paper.
Video by HappyART on YouTube.
 More How to Draw
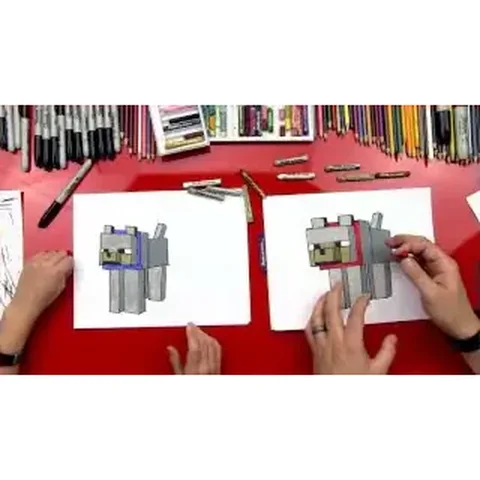 PDFHow to Draw a Minecraft Wolf (Dog)Pixel style · Ages 7-9
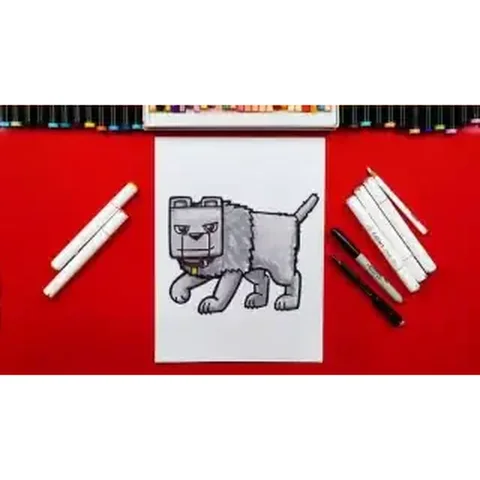 PDFHow to Draw Dennis the Wolf from A Minecraft MovieCartoon · Ages 7-9
 PDFHow to Draw a Minecraft Wolf Step by StepPixel style · Ages 7-9
 PDFHow to Draw a Minecraft AxolotlPixel style · Ages 7-9
 PDFHow to Draw a Minecraft Bee (Design 3)Pixel style · Ages 7-9
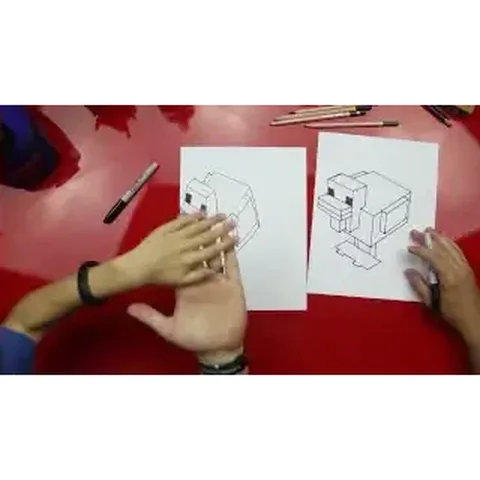 PDFHow to Draw a Minecraft ChickenPixel style · Ages 7-9
 PDFHow to Draw Minecraft Diamond Armor StevePixel style · Ages 7-9
 PDFHow to Draw a Minecraft Diamond (Design 2)Pixel style · Ages 7-9
 PDFHow to Draw a Minecraft Diamond (Design 3)Pixel style · Ages 7-9
 PDFHow to Draw a Minecraft Diamond Sword (Design 4)Pixel style · Ages 7-9
 PDFHow to Draw a Minecraft Diamond Sword (Design 5)Pixel style · Ages 7-9
 PDFHow to Draw a Minecraft Frog Eating a Magma CubePixel style · Ages 7-9