
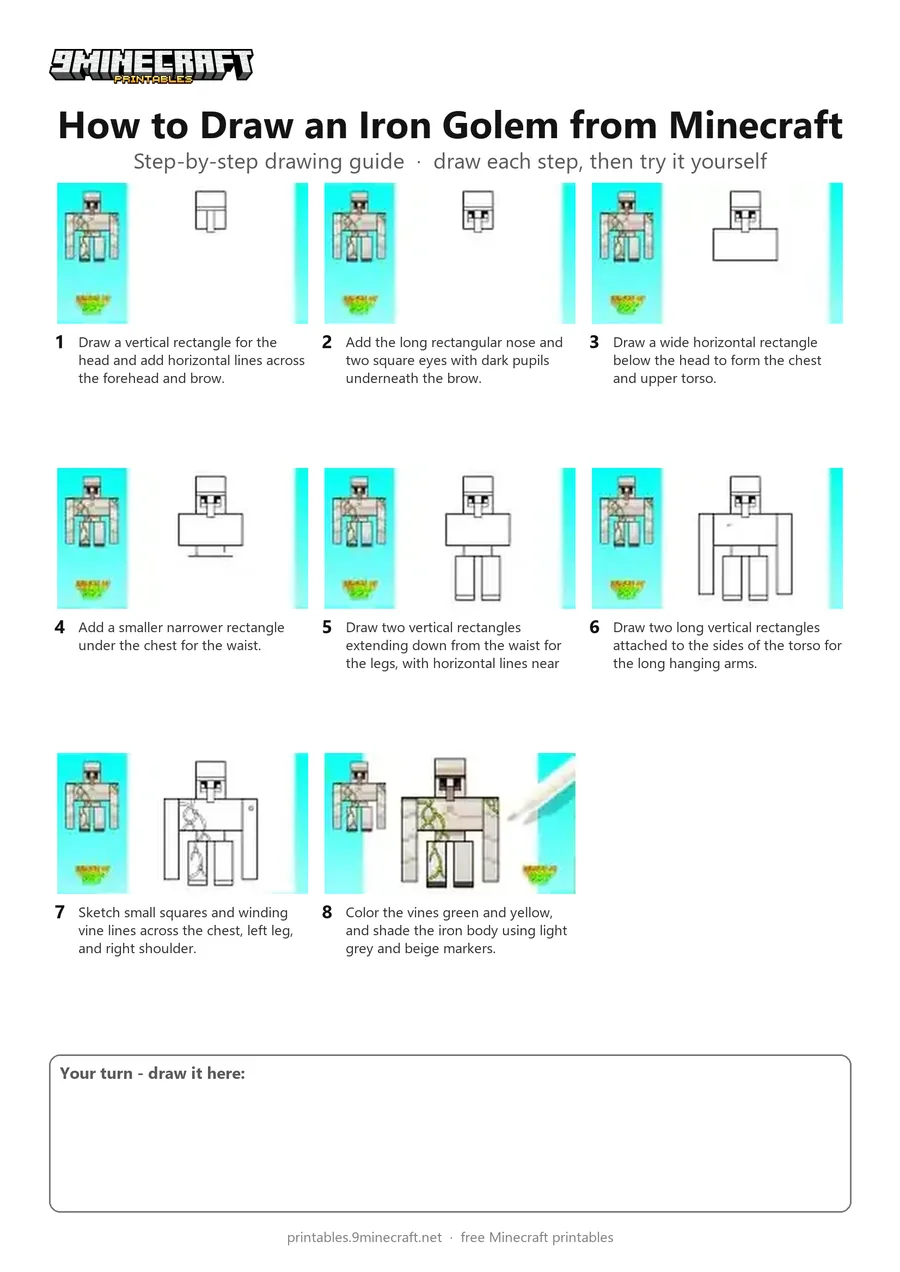
Learn how to draw a blocky Minecraft Iron Golem step-by-step using simple straight lines and rectangles. Finish the character by adding climbing vines and coloring it with grey, brown, and green markers. Free printable PDF for A4 and US Letter paper.
Print at 100% scale (“Actual size”). Plain printer paper works fine; crayons, colored pencils or markers all work.
 Draw a vertical rectangle for the head and add horizontal lines across the forehead and brow.
 Add the long rectangular nose and two square eyes with dark pupils underneath the brow.
 Draw a wide horizontal rectangle below the head to form the chest and upper torso.
 Add a smaller narrower rectangle under the chest for the waist.
 Draw two vertical rectangles extending down from the waist for the legs, with horizontal lines near the bottom for feet.
 Draw two long vertical rectangles attached to the sides of the torso for the long hanging arms.
 Sketch small squares and winding vine lines across the chest, left leg, and right shoulder.
 Color the vines green and yellow, and shade the iron body using light grey and beige markers.
You need: pen, markers.
Video by League of Joy - How to Draw on YouTube.
 More How to Draw
 PDFHow to Draw a Minecraft Iron GolemSimple · Ages 7-9
 PDFHow to Draw an Iron Golem from Minecraft (Design 2)Simple · Ages 7-9
 PDFHow to Draw Alex from MinecraftSimple · Ages 7-9
 PDFHow to Draw a Minecraft Creeper (Design 2)Simple · Ages 7-9
 PDFHow to Draw Minecraft an EndermanSimple · Ages 7-9
 PDFHow to Draw Herobrine from MinecraftSimple · Ages 7-9
 PDFHow to Draw a Minecraft HorseSimple · Ages 7-9
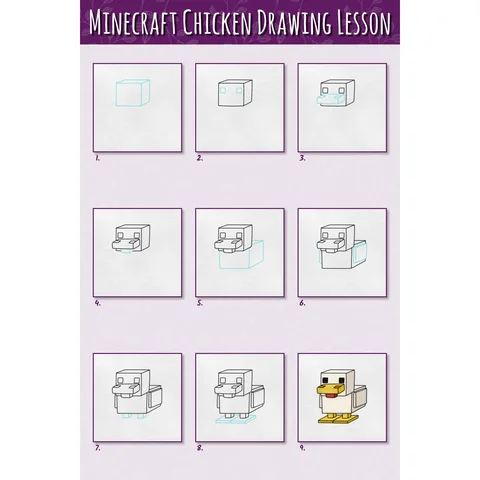 PDFHow to Draw a Minecraft Chicken Step by StepSimple · Ages 7-9
 PDFHow to Draw Minecraft an Iron GolemPixel style · Ages 7-9
 PDFHow to Draw a Minecraft Skeleton (Design 3)Simple · Ages 7-9
 PDFHow to Draw Steve from MinecraftSimple · Ages 7-9
 PDFHow to Draw the Minecraft WitherSimple · Ages 7-9